


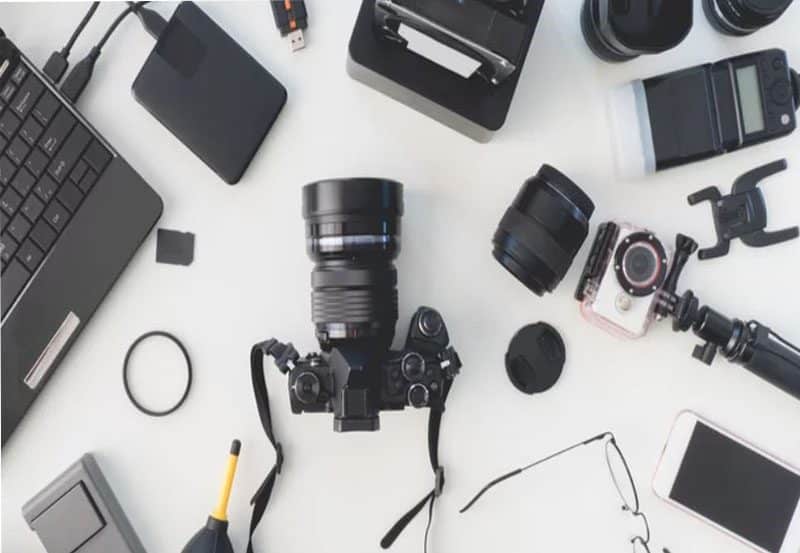
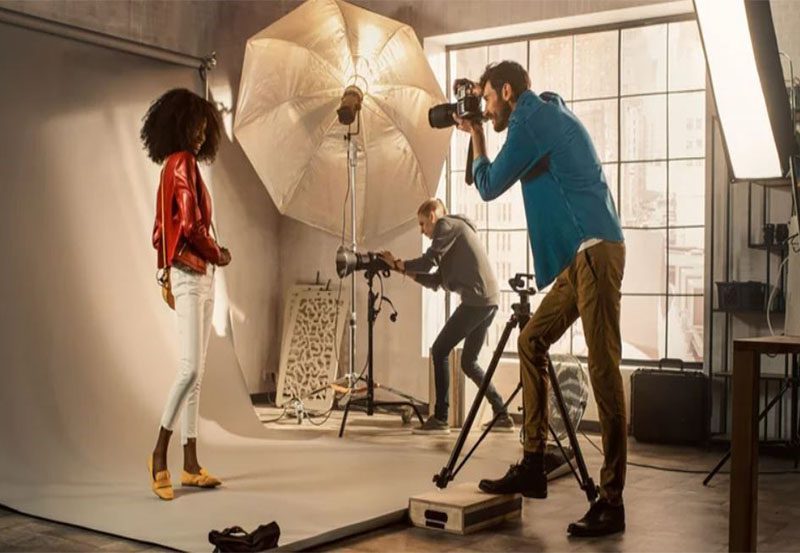
Are you wondering about tips and tricks for your DSLR camera? Fast technological advances are being made in the camera and photographic industries. The same creative minds who offer us groundbreaking innovations are also the first and last to declare them obsolete. Canon, the most prolific company in the industry, has released at least one new model every quarter this year, and they’re not done. After almost 2.5 decades of research, the company announced in late 2021 that it was discontinuing all digital single-lens reflex (DSLR) cameras.
Though, if you’ve been taking pictures for more than a couple of years, you probably still have a collection of DSLR accessories. Even while new DSLRs won’t be manufactured any longer, that shouldn’t dissuade amateur photographers from investing in one as their first camera. You can get a DSLR camera that will last you for decades. Whether you’re opening your first camera kit or hoping to brush up on your DSLR knowledge after getting comfortable with a mirrorless model, this book is your one-stop resource for understanding How to keep your DSLR relevant after its maker labels it obsolete.
Table of Contents
Stay away from generic batteries.
Even in a group of professional photographers, you’re bound to find a few who insist that they’ve been using generic DSLR batteries for years without incident. Choosing the cheaper choice could cost you more when your camera breaks. A few third-party companies don’t intend to ruin your camera and bank account, but the abundance of shamefully low-quality knockoffs drown them out. The countless complaints by Amazon customers who have purchased low-cost batteries from unknown vendors should serve as ample warning. While many photographers would consider you stupid if you spent the money on a name-brand battery, using a non-genuine one isn’t necessarily dooming. You can find credible alternatives to name-brand products if you take the time to search around (via Expert Photography). An acceptable outcome of utilizing generic batteries is that your camera works properly but refuses to keep a charge.
Always use RAW when shooting.
First, though, we need to clarify what we mean by “RAW”: a RAW image file is one in which the original photograph’s data has been preserved. There is no truncation or skipping of content. JPEG images compress and omit image data, making them smaller and easier to manage if you lack the resources to sift vast numbers of small files. If you tell your camera to save images as JPEGs, it will judge what data to keep and what to discard rather than you.
RAW image files help retain clarity, highlights, and shadows, especially when using a DSLR camera in low light or other unfavorable situations. These are essential tips and tricks for your DSLR camera. This is because the RGB color values in an 8-bit JPEG file are limited to 256, while an image captured in RAW format can contain over 65,000. (via Nikon). When shooting, you’ll be able to catch brighter highlights, and when editing, you’ll have more control over the subtle differences in brightness. Another interesting fact is that when RAW files are edited in a tool like Adobe Lightroom, the image data is copied, edited, and saved as a new file. Without actively duplicating JPEGs before saving changes, you’re throwing away data and lowering the image quality with each new version.
Don’t Ignore the Semi-Automatic Settings
If you’re just getting started with photography, you’ve probably heard the phrase “start in auto.” When in fully automatic mode, a DSLR is programmed to select the shutter speed, aperture, and ISO based on the information it gathers from its sensors and the subject you’ve told it to focus on. The transition from automatic to the manual is the end aim, but it need not be sudden.
There are two modes available on most DSLRs to help you transition into manual mode: aperture priority and shutter priority. The A or Av setting on your DSLR’s mode dial indicates aperture priority, which lets you automatically set the aperture and lets the camera handle the shutter speed. Now the photographer has access to one of the most potent weapons in the field: The gap determines whether the landscape is crisp or soft and whether the portrait is delightfully smooth or miserably flat. On the other hand, imagine you want to photograph a track meet but are having trouble determining the best camera settings. The shutter priority mode may be labeled as AE (for auto exposure) or Tv, depending on your camera. Use shutter priority mode and control the shutter speed manually to capture a moving subject without blur. If you’re not quite ready to shoot in full manual mode, these two options will get you close.
White Balance Can be Improved by Carrying Paint Samples

Unlike mirrorless cameras, the results of your settings changes in the viewfinder won’t be instantaneous with a DSLR, making indoor shooting a challenge. Say, for example, that you work in real estate photography. Your living room shot is beautiful, but you can’t seem to replicate that effect in the kitchen. Any noticeable shifts in the color temperature (how “warm” or yellow-tinted your photo appears to how “cool” or blue-tinted) as you go from room to room are virtually always the result of changes in the artificial lighting.
The word for this is “white balance,” If it’s off, your image’s whites and highlights will be thrown off, and your skin tones will appear yellowed or purple. Manually adjusting the white balance can throw off the temperature even more if you aren’t very experienced with it. If your camera’s white balance is off, you can fix it by looking at a white surface through the lens and making little adjustments until the surface seems like a pure, neutral-temperature white in your photos. While the adjustment would be seen in real-time on a mirrorless camera, it would require taking a picture with a DSLR to be seen. Surfaces like walls are ideal examples, but walls typically have a more off-white hue, such as an eggshell or cream. Here’s when a sample of white paint would come in helpful. It’s straightforward to use; drop the swatch in your camera bag, fill the frame to calibrate white balance, and shoot test images.
Create New Formats for Your Memory Cards Frequently
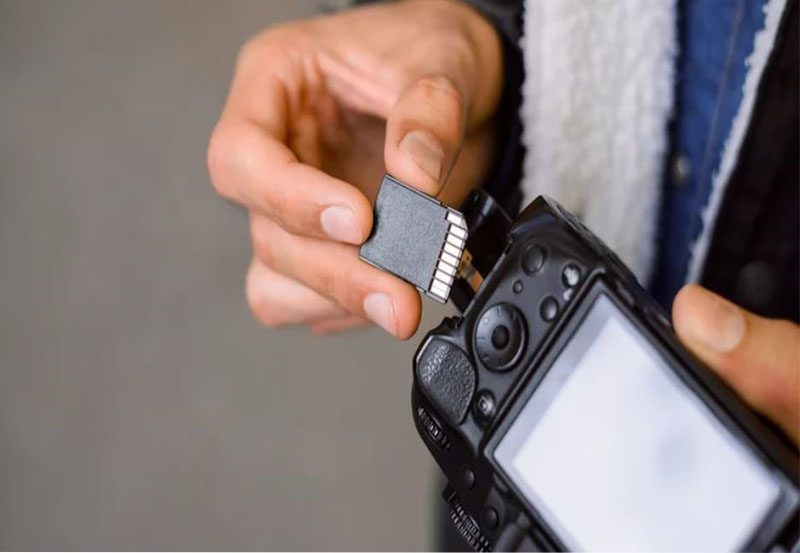
In the heat of the moment, we photographers often fail to remember the limitations of SD cards and must instead deal with the fallout later. Even though extreme steps (including pricey recovery software) can sometimes restore corrupted files from the memory cards used in DSLR cameras, there is always the danger that your photographs and hard work will be lost when the cards fail when you need them the most.
Prevention measures include reformatting a memory card. When you do this, the card will be completely cleared of any previous information. You should format your card while it’s still in your camera if any of the following situations apply: the card has been used for a while without being formatted, your camera gives card error warnings, or you fear it’s not working; the card’s existing files have been securely backed up elsewhere, and you are confident that nothing still on the card is needed; you are starting a new shoot. SD cards can be formatted hundreds or even thousands of times without damage. To avoid losing irreplaceable photos, always preview the card’s contents in the camera to see whether any were taken recently.
Make a Custom Function to Save Frequently Used Shooting Situations
Your most utilized settings will seem different depending on whether you’re an outside photographer who primarily shoots birds or an indoor portrait photographer who uses studio lighting. Additionally, it’s unlikely that the shutter speed, ISO, or aperture settings for any shooting modes would match your usual preferences. So, most DSLRs (perhaps except the entry-level and early models from each manufacturer) have one or two custom shooting mode buttons where you can store your favorite settings.
Your DSLR’s custom features may be labeled as C1, C2, C3, etc., on the shooting mode dial, though the precise labeling and location in the settings may vary by manufacturer and model. You can find out how to configure a custom mode by reading the user manual or looking for instructions online, but it’s typically relatively simple: just set your camera to the parameters you want to save and then look for a tab in the menu that says something like “custom shooting.”
Use Focus Depressing to Half-Strength and Subject Tracking
To snap a picture, you press the camera’s round shutter button. Some newbies to DSLR cameras might not realize that halfway down the shutter button brings helpful focusing aids. The focus can be locked when the shutter button is depressed halfway on most DSLRs, though this feature may need to be activated in the camera’s settings, depending on the model. This implies that if you focus on an object within the frame, like your dog, it will stay in focus no matter where the dog goes within the frame. Pressing it all the way in will take the photo while releasing it will unlock the direction.
This feature helps photograph in dynamic and unpredictable settings, such as those found in sports and wildlife photography. If you want to capture a picture of a specific player at a basketball game, but another player moves into the frame, the automatic focus will shift to the new subject. If your player was sharp, you could take a picture of them while blurring the background. Using the subject-tracking capabilities of a digital single-lens reflex camera allows you to take photographs with greater depth and intrigue in dynamic situations where your subject isn’t in the foreground.
The Camera Can Be Set to Accommodate Those Who do not Wear Glasses.

Those who wear glasses understand the frustration of trying to focus on an object while also looking through their lenses and the cameras. A dial on your DSLR called the eyepiece diopter adjuster can help you with this, but not many people know. It is easy to miss this dial because it is tucked away behind the viewfinder (on our Canon models, it is almost entirely hidden by the viewfinder’s cushioning). This adjustment typically has a range of +5 to -5 or less. It should be adequate for most eyeglasses prescriptions lying in the bell-shaped center. Unfortunately, using extremely powerful or otherwise unusual eyewear may not function for you.
Using the diopter dial may help, but there are other ways to make shooting with glasses more tolerable. Possible solutions include:
- Doing away with the rubber ring around the viewfinder.
- Employing expanded eyepieces to gaze through the viewfinder further away.
- Switching to live view on the back screen.
Ease Your Future Self’s Burden By Assigning Stars to Photos Now
Nothing will wear out a photographer faster than searching through thousands of photographs that differ by a hair in their editing program. Finding the one clear shot among hundreds slightly hazy from a blink or movement is tedious and time-consuming. The culling process in Lightroom and most other processors includes the option to assign stars (1–5) to each of your shots. This is helpful if, for instance, you submit 20 high-quality images for a project, meaning you need to obtain 20 photographs with a rating of five stars. However, you would also like a collection of photos with a rating of four stars in case additional options are required. The structure is beneficial since it allows you to sort and filter pictures based on user reviews.
The best photographs may be simpler to distinguish from the average ones if you take them in bursts. You can take a little break every so often to rate your heck-yeah and your absolutely-not because, on most DSLRs, you can apply a rating immediately in the camera. Showing the client the photographs while still at the session and letting them mark their favorites with five stars may also be helpful, depending on your preference and the style of photography you perform.
Never Resort to Servitude! Cheapskate
You should take every measure to keep your brand-new DSLR camera in working order for as long as possible, as the price of mirrorless bodies is only going up. Preventative maintenance by trained technicians will be essential to this. The current state of affairs favors DSLR users in that any camera servicer, licensed or not by a manufacturer, is likely to be far more experienced with the ins and outs of a DSLR camera than a mirrorless you can probably rest easy knowing your gear is in excellent hands. Although, we suggest that you should know about tips and tricks for your DSLR camera and also aren’t telling you to seek out unofficial repairers.
Nikon recommends having your camera serviced once every year or two (depending on how often you use it) to ensure that it is thoroughly cleaned, calibrated, and inspected. Every time you use your DSLR camera is like adding miles to your car’s odometer, and the sensors and mirrors will get dirty or wear down as a result of all the shooting you do. Unless a severe problem is discovered, in-house servicing from a significant brand will only take a few days and cost no more than $100 to $150. At the time, it may seem like a bother, but you will come to value your initiative.
To Keep Your Camera Safe on Your Next Expedition, You Should:
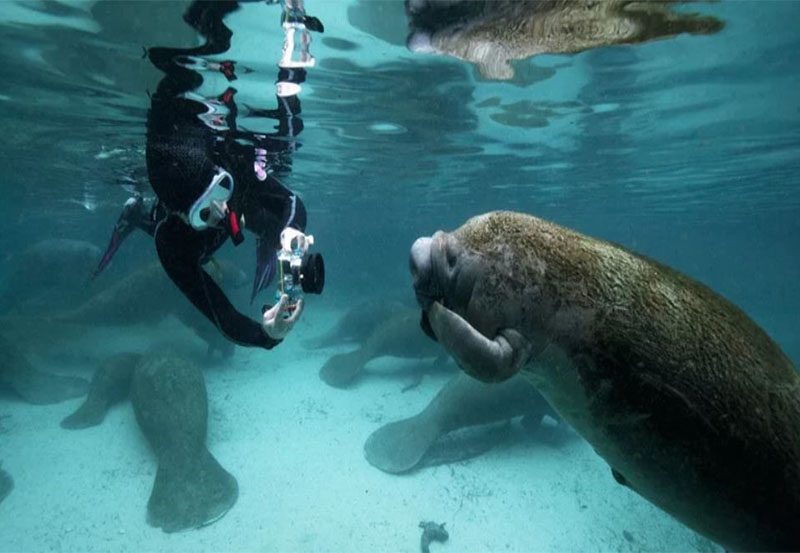
So, it’s apparent that you can’t take your DSLR scuba diving without some protection, and most of us aren’t going to drop a couple of grand on a top-tier underwater housing. Even if you don’t do a ton of dangerous photography—say, out on boats or beaches or while rock climbing or hiking—still it’s a good idea to take some safety measures in case something goes wrong with your equipment while you’re out in the wild.
If you need to replace the camera straps, use straps that are just as sturdy and trustworthy as the originals. A camera’s metal clasp may not wholly shut through the space provided by the strap anchor on some models, leaving your camera vulnerable to being dropped. Keep lens hoods, and polarizers close at hand if you’re a photographer who spends a lot of time shooting outside throughout the day. These won’t prevent severe damage to your lens, but they will shield it from dust and windborne particles, moisture from things like ocean spray, and minor dings and scratches. Finally, a rain cover is a nuisance to take around but essential in preventing expensive damage to your camera from rain. It’s better to be safe than sorry.
If you want to know more information about tips and tricks for your DSLR camera then click here.

